
What a render gets right
Modern real-time engines are geometrically honest. If the wardrobe is drawn at 2,400 mm wide against a 3,050 mm wall, that relationship is exactly what you will get. Circulation gaps, door swings, the clearance between a dining chair pulled out and the sideboard behind it — all of this is measurable in the model and worth interrogating before approval. Ask for the dimensioned plan alongside the pretty view and check the gaps yourself.
Material adjacency is also mostly trustworthy: whether the fluted panel fights the stone, whether the brass reads warm against the grey, whether the floor tone kills the veneer. These are the judgements a render is genuinely useful for, and they are the ones clients tend to skip past in favour of the mood.
The seven things that always differ
| What you see | What you get | Why | How to check before approval |
|---|---|---|---|
| Room feels spacious | Reads 10–15% tighter | Wide virtual lens, 24–28 mm | Ask for a 43 mm-equivalent view |
| Tall ceiling | 75–100 mm lower | False ceiling drop often not modelled | Ask for the finished floor-to-ceiling figure in mm |
| Even, soft light | Pools and shadows | Render uses studio lighting, not your circuit | Ask for the lighting layout with lumen counts |
| Clean surfaces | Keys, chargers, bottles | No render includes daily life | Plan a landing zone at the entry |
| Seamless joinery | Visible shadow gaps and grain joins | Render shows one continuous texture map | Ask where the panel joints will fall |
| Colour exactly as shown | Half a tone off | Screen gamut vs pigment | Approve from a physical sample, not the image |
| No switches or sockets | 14–22 visible plates | Usually deleted for cleanliness | Ask for the render with switch plates shown |
Design and build under one accountable roof
The lens question
Most interior renders are set up with a virtual focal length of 24 to 28 mm because it fits the whole room in one frame. Human single-eye perspective corresponds to roughly 43 mm. The difference is not deception, it is a practical necessity — but the effect is that a 3.4-metre living room appears to have the proportions of a four-metre one. One request fixes it: ask for a single view at 40–50 mm from 1,550 mm camera height, standing at the doorway. It will look cramped compared to the marketing view. It is the honest one.
How to review a render properly
- Check the plan first, then the view. The view is the plan wearing make-up. If the plan has a 700 mm walkway, no render can fix it.
- Walk your own dimensions. Tape the joinery footprint onto your existing floor. Ten minutes with masking tape has saved more projects than any software.
- Ask which materials are placeholders. In most studios at least two textures in an early view are stand-ins. Know which.
- Count the light sources in the image, then in the electrical drawing. If the render shows a wall wash and the drawing shows three downlights, the room will not look like the image.
- Look for the daylight direction. If the render puts the sun on a wall that faces a neighbour's building, the atmosphere it shows does not exist in your flat.
- Approve in writing, with the sample set attached. The render plus the labelled samples is the pair that gets built.
Where renders earn their fee
On a 2BHK, a set of six to eight views costs a studio roughly ₹18,000–₹40,000 in modelling and rendering time, and it routinely catches decisions that would cost far more on site: a wardrobe that blocks a window reveal, a kitchen tall unit that makes the passage 780 mm, a TV panel that fights the beam. Used as a checking tool rather than a sales tool, it is the cheapest quality control in the project.
The material mismatch that causes most disappointment
When a client says the finished room does not look like the render, nine times in ten they are describing a material, not a dimension. Rendering software applies a texture map at an assumed scale, an assumed gloss and an assumed colour profile. A real laminate has a repeat pattern every 1,220 mm, a real veneer has grain that runs continuously across a door and then breaks at the next leaf, and a real quartz slab has veining that cannot be positioned to match an image.
Stone is the worst offender because it is natural. The render shows an even, generous vein; the slab that arrives has the vein concentrated in one third of its length. This is not a supplier failure — it is what stone is. The fix is procedural: select the physical slab at the yard, photograph it, mark the cut lines on the photograph with the fabricator, and attach that photograph to the approval. We do this on every project with a natural stone counter or cladding above ₹1.5 lakh.
- Ask where the laminate joint falls. On any run above 1,200 mm there is a joint. Knowing where it lands is part of the design, not a site decision.
- Ask for veneer leaf layout. Book-matched, slip-matched or random changes the look of a TV wall completely, and costs the same to specify correctly.
- Select the stone slab yourself. Forty minutes at the yard prevents the most common post-handover complaint in premium projects.
- Check the gloss level in the render settings. A matte laminate rendered at 30% gloss reads as satin; the physical chip is the arbiter.
A reasonable expectation to hold, then: the built room should match the render's plan exactly, its materials closely, and its atmosphere approximately. If all three match, the studio has done unusually careful work with lighting and specification. If the plan does not match, that is a legitimate complaint and it is measurable with a tape. If only the atmosphere differs, the honest answer is that atmosphere was never in the contract — it is a function of your furniture, your light fittings, the season and the time of day. The room will look like the render at 7 pm with the lamps on, and like your actual home at 11 am on a Tuesday. Both are correct.
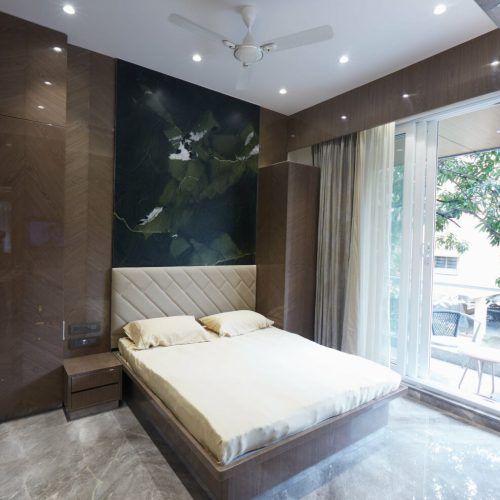
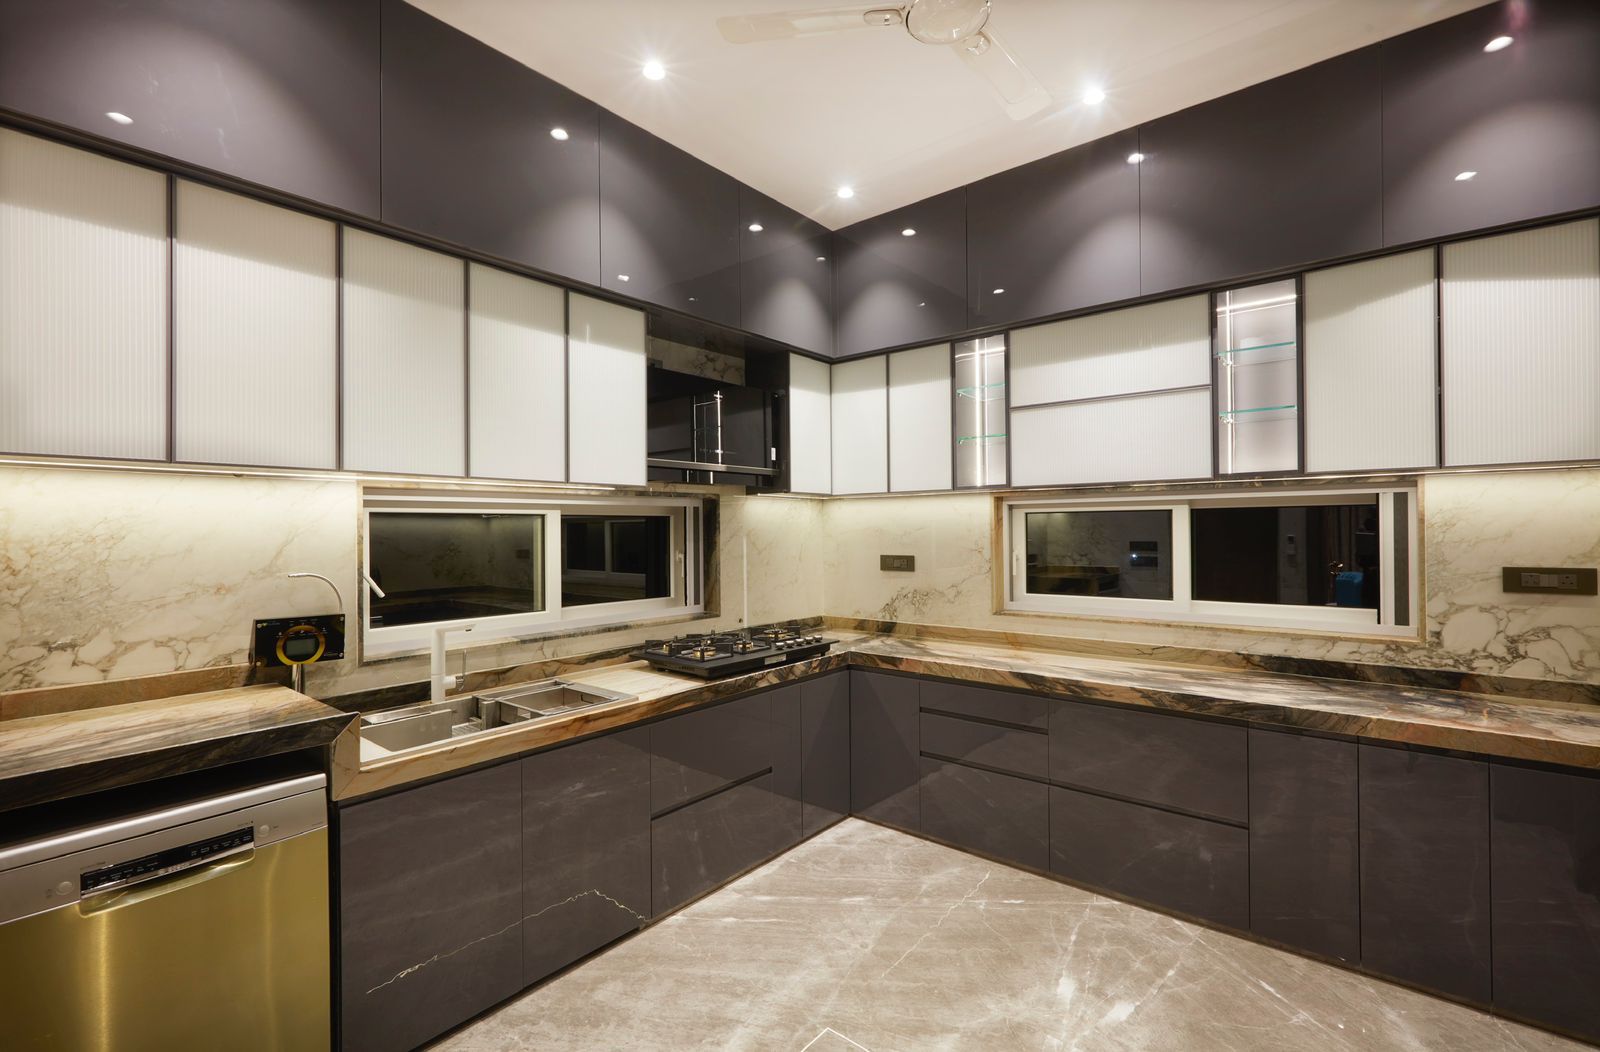
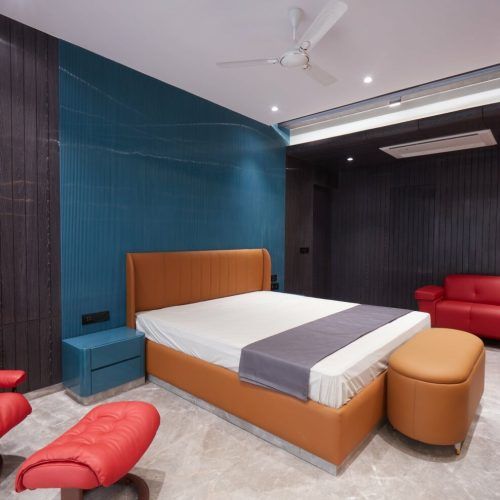
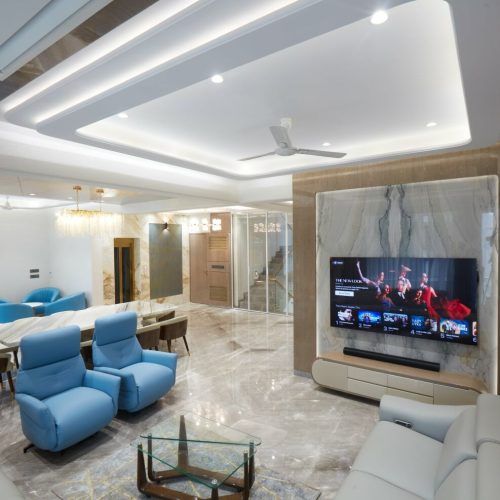
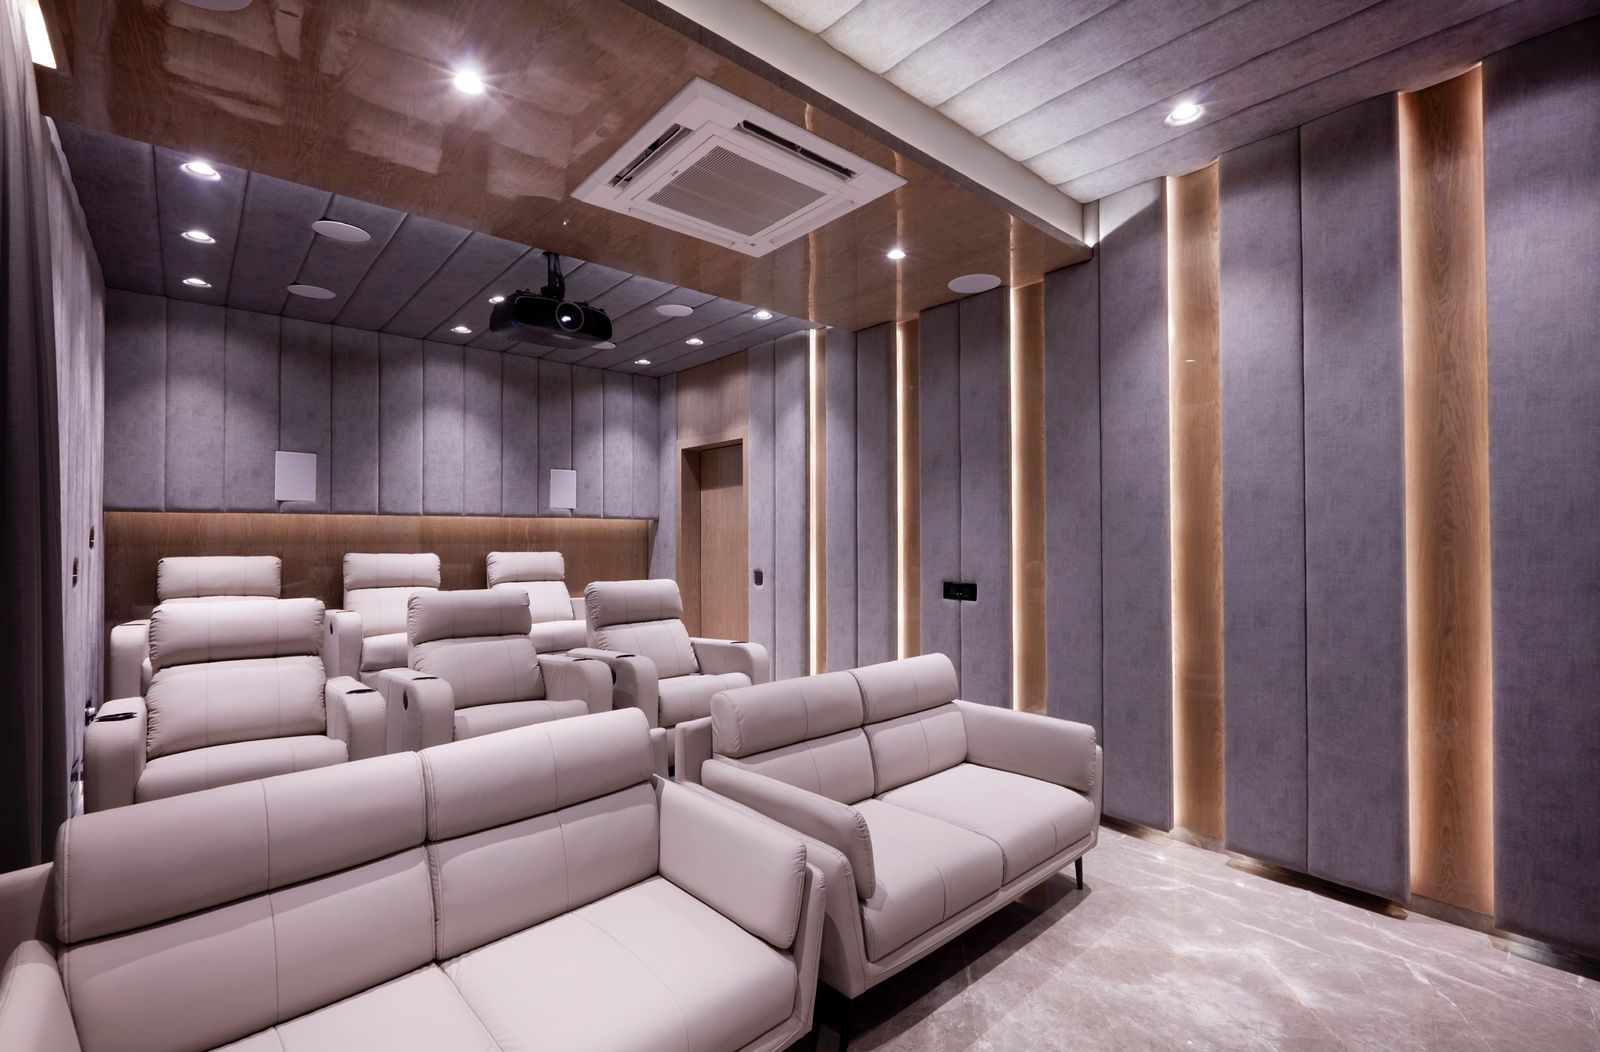
Selected work by Greenbox Design Studio. Tap any image to enlarge.
Frequently asked questions
How accurate are 3D interior renders?+
Geometrically, very — the model is built from the same dimensions as the working drawings. Atmospherically, less so: lighting, lens and the absence of everyday objects make rooms read larger and calmer than they will be. Judge layout from the render; judge colour from physical samples.
How many renders should a designer provide?+
For a 2BHK, six to eight views: living, dining, kitchen, both bedrooms and one entry view. More than a dozen usually means views are replacing drawings. Insist that dimensioned plans and elevations accompany them — the render is not a construction document.
Why does the finished room look smaller?+
Three causes stack up: the wide virtual lens, the false ceiling drop that was not modelled, and the furniture that appears in life but not in the image. None of them are dishonesty; all of them are avoidable by asking for one eye-level, standard-lens view before approving.
Can I ask for changes after approving a render?+
Yes, but the cost depends on when. Before fabrication it is a drawing revision, typically free or nominal. After the joinery is cut it is a variation, priced at material plus labour plus the time lost. This is exactly why the approval stage deserves an hour of proper scrutiny.
Do renders include the actual lighting?+
Rarely by default. Most studios light a render for image quality, not for the circuit you are buying. Ask for a photometric or at least lumen-annotated version, and cross-check against the reflected ceiling plan. See layered lighting for the targets.