
Draw your room plan
Enter internal dimensions. The plan redraws as you type, on a one-foot grid.
How this drawer works
- The rectangle is scaled to fit a 520 × 320 px drawing area, so the aspect ratio is always true. The scale in pixels per foot is printed with the plan.
- Grid squares are one foot, drawn whenever the scale allows enough separation to read them.
- The door is centred on the wall you choose, drawn at your stated width as a gap in the wall with a quarter-circle swing arc.
- The window is drawn as a band 40% of the wall length, centred.
- Floor area = length × width. Perimeter = 2 × (length + width). Wall area = perimeter × ceiling height. Paintable area = wall area × 0.88, plus the ceiling.
- Flooring quantity = floor area × 1.08, an eight per cent wastage allowance for cuts and breakage.
| Output | Formula | What it is used for |
|---|---|---|
| Floor area | L × W | Flooring, false ceiling, carpet quotations |
| Perimeter | 2 × (L + W) | Skirting, cove lighting, cornice runs |
| Wall area | Perimeter × ceiling height | Plaster, putty, wall panelling |
| Paintable area | Wall area × 0.88 + floor area | Paint quantity and painting quotations |
| Flooring quantity | Floor area × 1.08 | Tile or wood ordering, including wastage |
Design and build under one accountable roof
Measuring a room properly
- Measure at skirting level, not at waist height
Plaster is thicker at mid-wall than at the floor in most Indian construction. A tape run at waist height over an uneven wall can lose 30–50 mm across a room. Run it along the skirting, or 100 mm above the floor if there is no skirting yet.
- Take every dimension twice
Measure the length at both ends of the room and the width at both ends. If the two readings differ by more than 25 mm, use the smaller one for planning furniture and note the discrepancy — it means a wall is out of square and joinery will need scribing.
- Record what you cannot change
Column projections, beam drops, duct boxings, the electrical panel, the AC drain outlet, the window sill height and the door swing direction. Every one of these has stopped a layout at some point. Note them on the plan by hand.
- Note the ceiling height at two corners
Slab levels vary. If your ceiling is 10 ft at one corner and 9'8" at another, the false ceiling has to be set to the lower one, and knowing that at the drawing stage saves a site argument.
- Mark the north
Even roughly, from your phone. It determines which rooms get morning light, which get the west afternoon, and whether a north-facing study is available — and it is the first thing any designer will ask you for.
Send us a hand sketch with real dimensions on it rather than a beautiful 3D render with none. The sketch is the one we can quote from.
Greenbox design & build team
What to do with the plan once you have it
- Take a screenshot and mark on the socket positions, the AC point and the TV point by hand. That single annotated image prevents most electrical variations.
- Test the furniture against it with the furniture arrangement planner before you order anything.
- Use the paintable area with the paint quantity calculator to check a painter's quantity claim.
- Use the flooring figure with the flooring cost calculator, which already accounts for the wastage separately — do not double-count it.
- Send it with your enquiry. A designer who has real dimensions can give you a real number; one working from photographs cannot.
Every constant above comes from Greenbox site records — measured drawings, signed BOQs and completion certificates from projects delivered between 2023 and 2026 — rounded to figures an estimator would actually use. We publish them so you can audit the arithmetic instead of trusting a black box. Treat the output as a planning figure: it is accurate enough to brief a landlord, a bank or a spouse, and not accurate enough to sign a contract against.
What this tool does not cover
- Single rectangular rooms only. L-shaped rooms, bay windows, splayed walls and niches are not drawn. Test the largest rectangle that fits inside the space.
- Multi-room layouts. This is a sketch tool for one room at a time, not a floor-plate planner.
- Wall thickness is indicative, drawn as a line weight rather than a measured 115 or 230 mm. Internal dimensions are what the tool works with.
- Structural elements. Columns, beams, shafts and ducts are not represented and frequently decide a layout.
- It is not a construction drawing and should never be used to order material without a site check.
- Nothing is saved or uploaded — the plan is generated in your browser and disappears when you close the tab. Screenshot it before you leave.
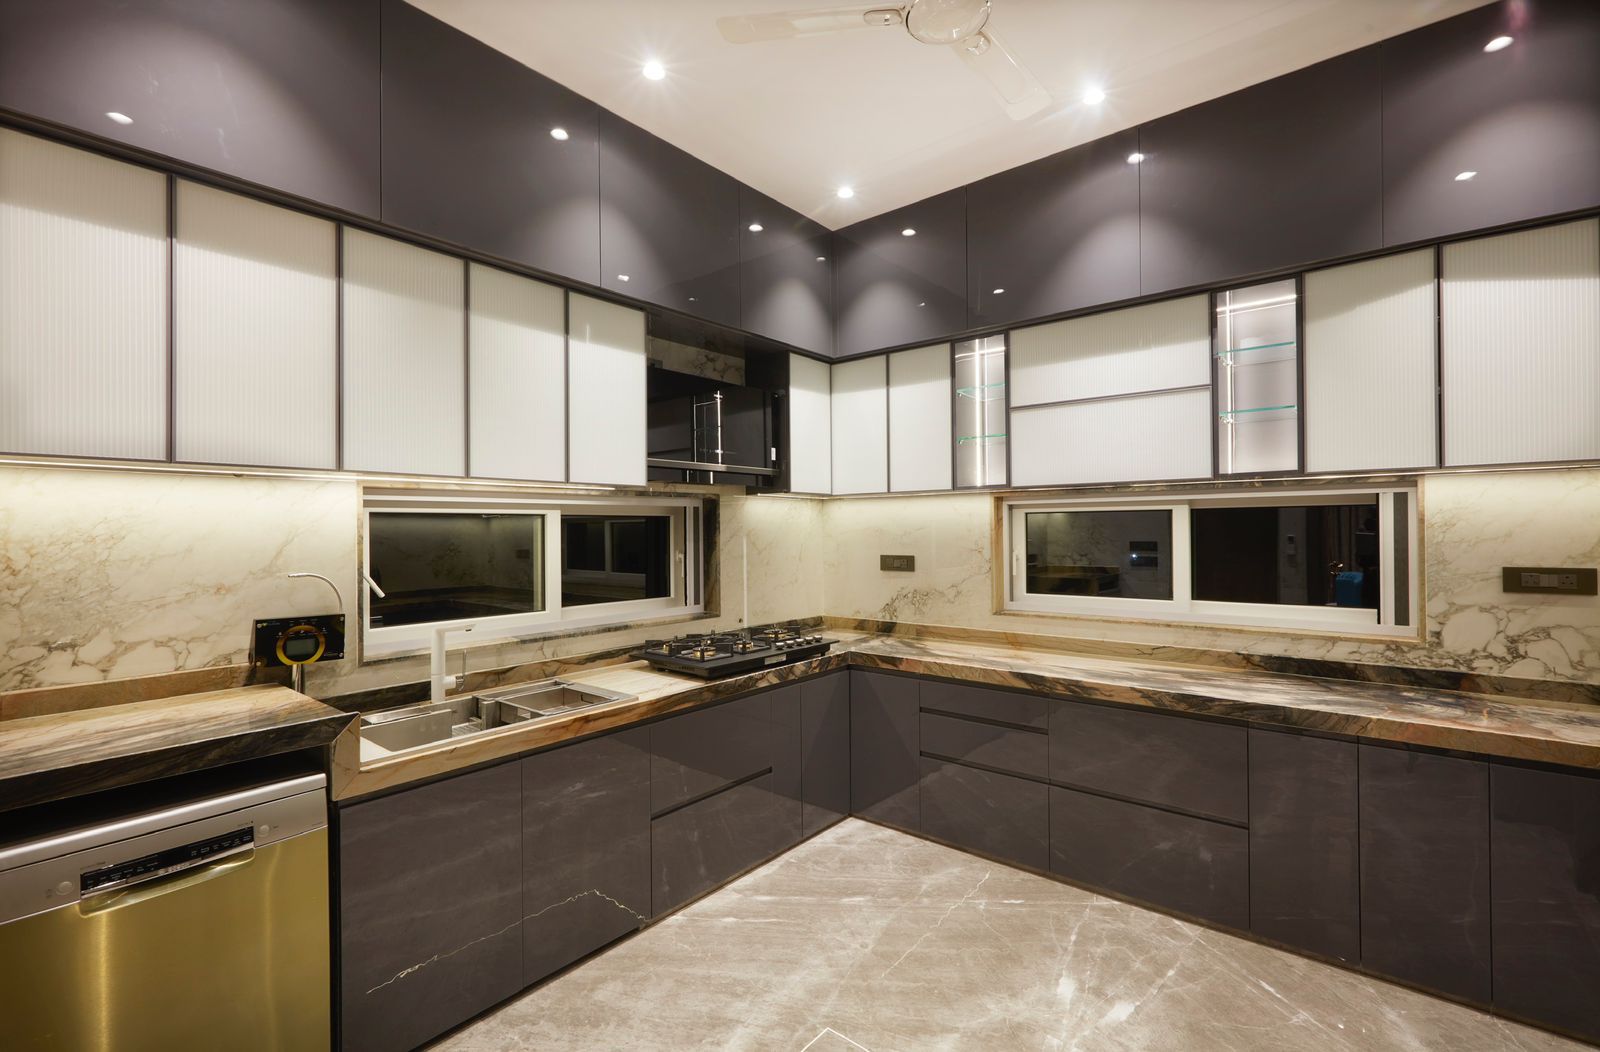
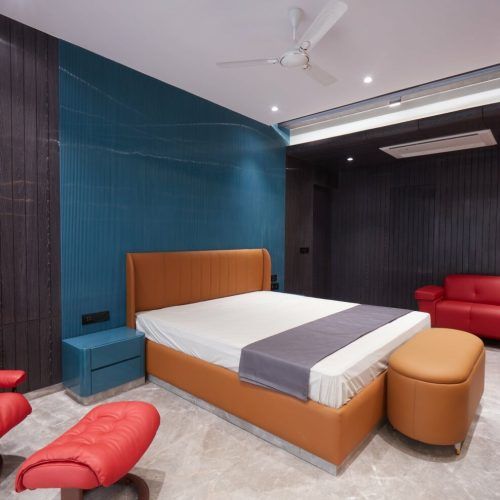
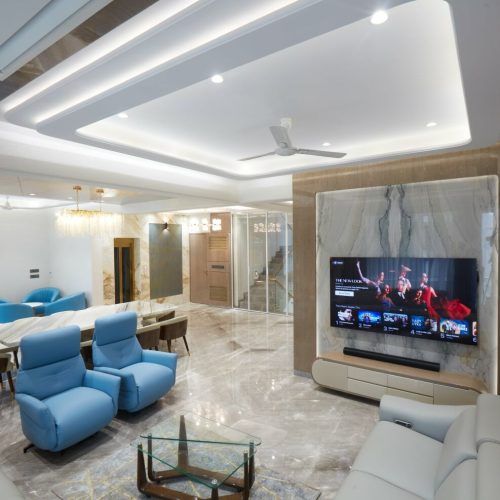
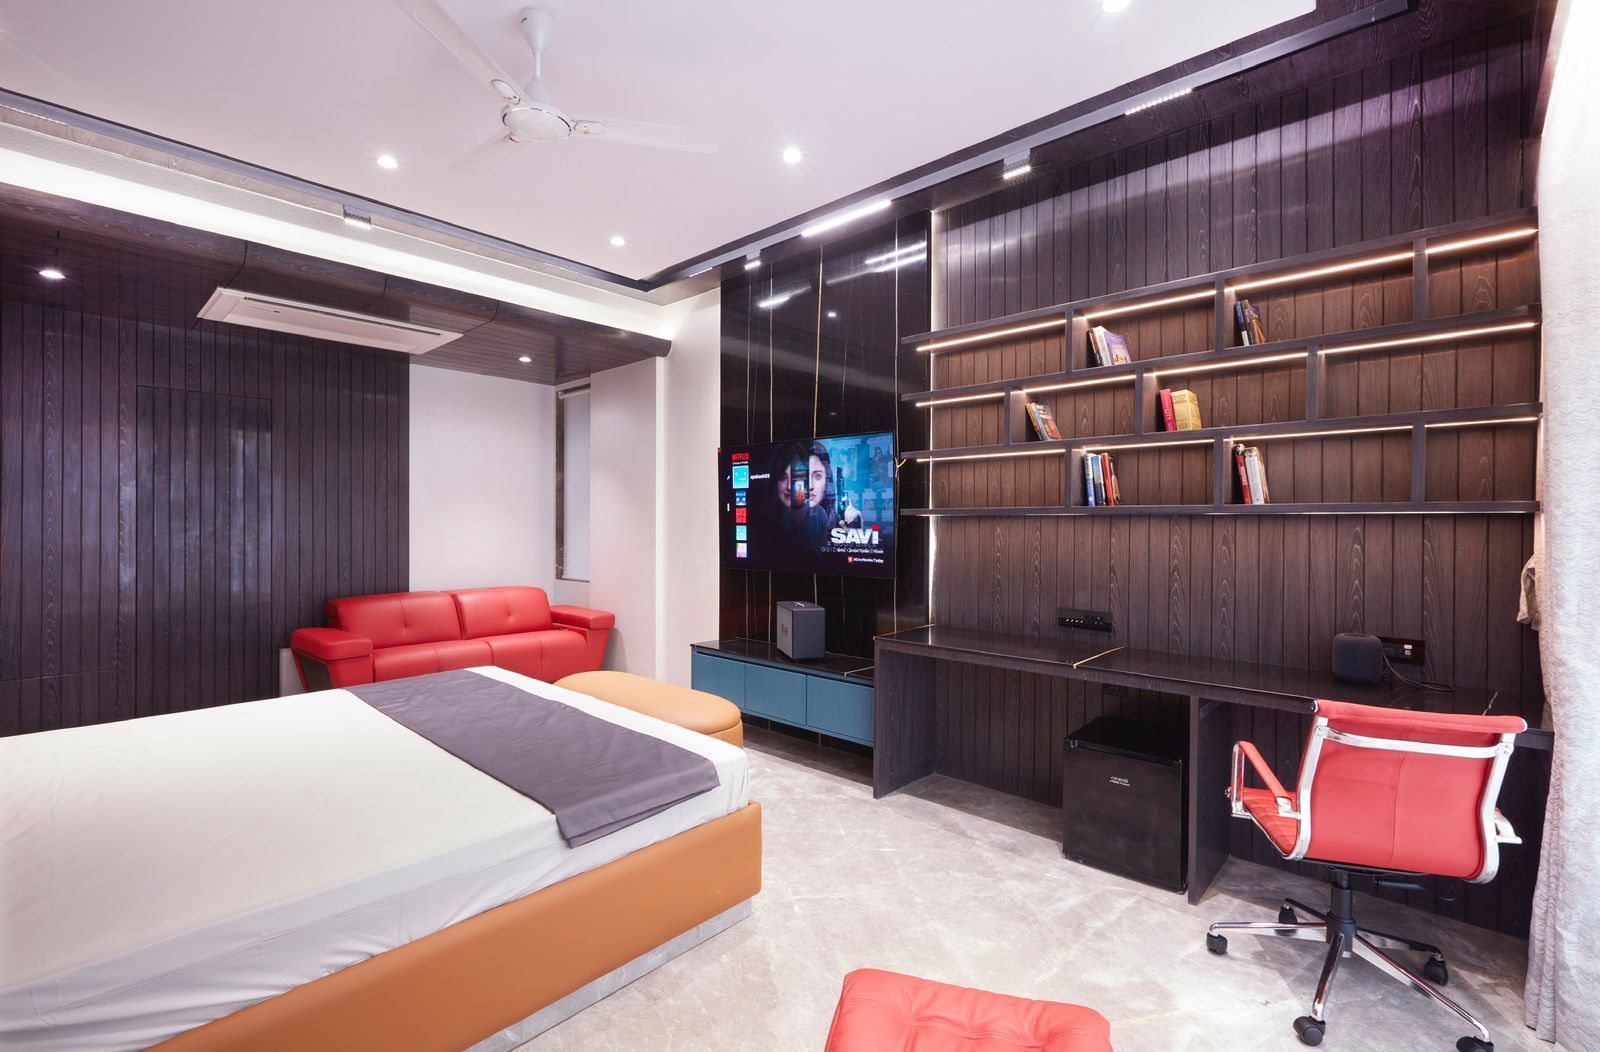
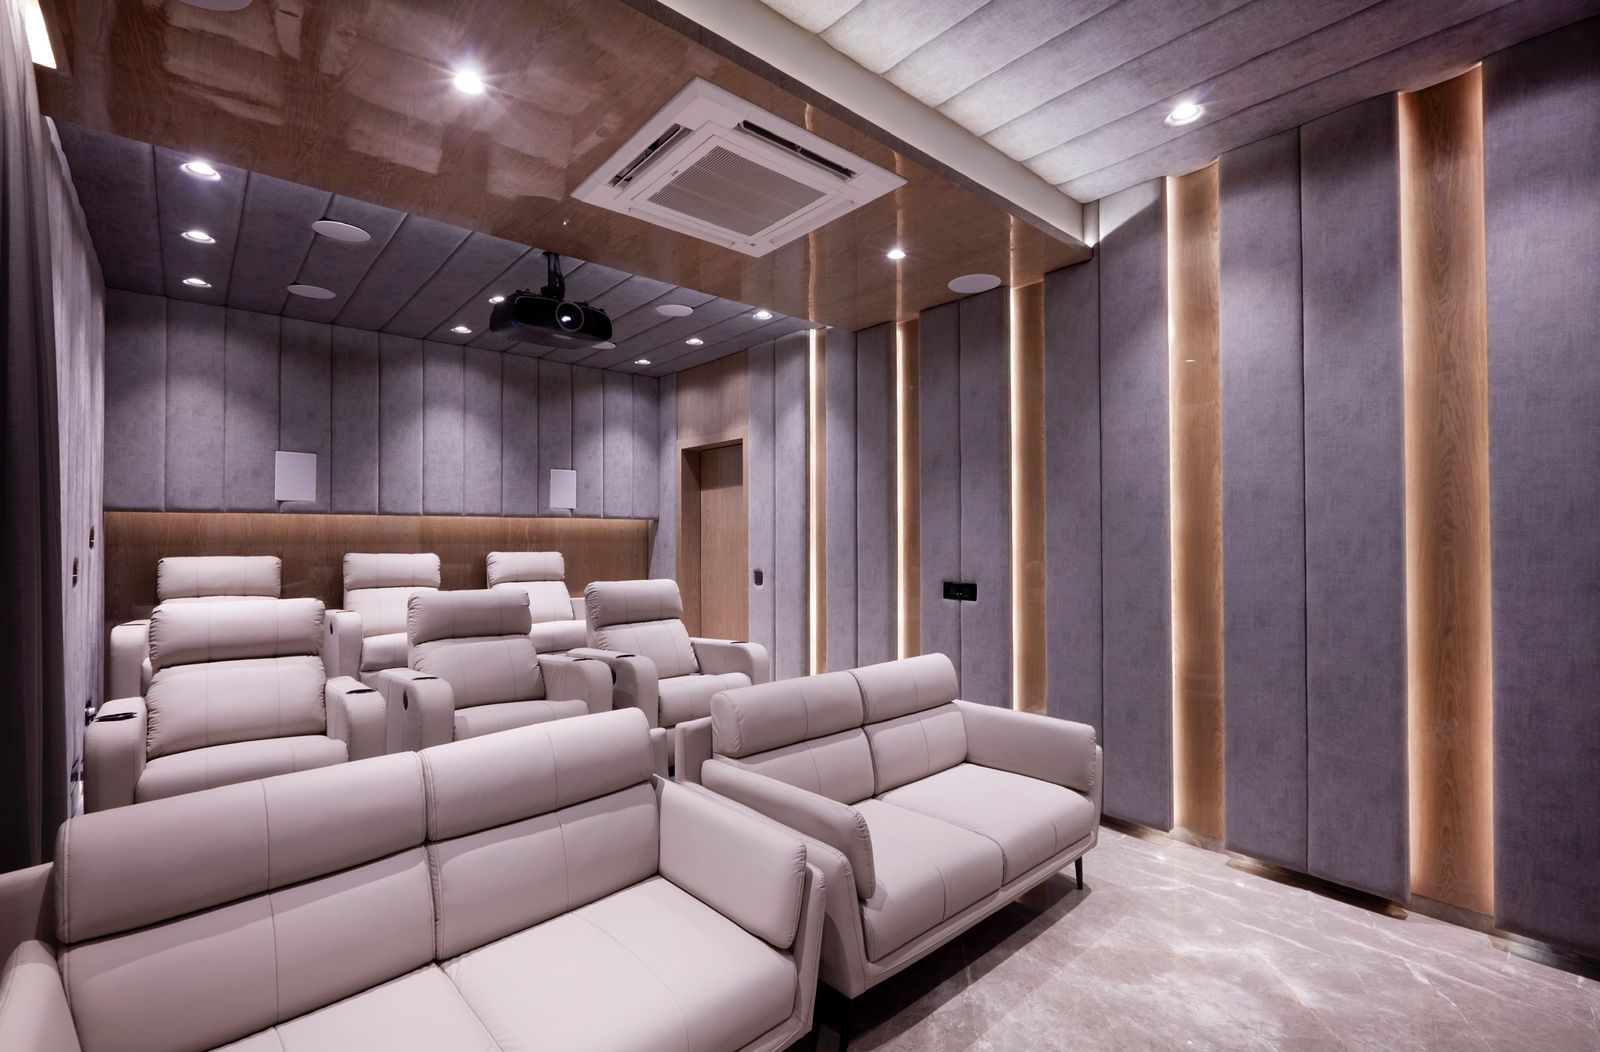
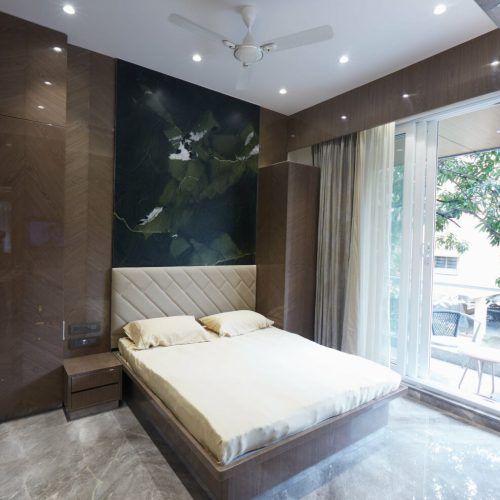
Selected work by Greenbox Design Studio. Tap any image to enlarge.
Frequently asked questions
How do I make a floor plan without CAD software?+
Measure the internal length and width at skirting level, note the ceiling height and which walls carry the door and window, and enter them here. You get a scaled rectangle on a one-foot grid with the door swing drawn and the areas calculated. Screenshot it and annotate by hand.
What measurements does a designer need from me?+
Internal length and width of each room at skirting level, ceiling height, door and window positions with their widths, and the location of columns, beams, the electrical panel and AC points. Plus a rough north direction. That set is enough for a preliminary layout and an indicative quotation.
Is carpet area the same as the area this tool shows?+
Close. This tool gives the internal floor area of one room, wall face to wall face. Carpet area is the sum of those across the flat, excluding wall thickness. Built-up area adds wall thickness and super built-up adds a share of common areas — use the carpet to built-up converter for those.
Why does the plan deduct 12% for paintable area?+
Because doors and windows are not painted. Twelve per cent of wall area is the standard allowance for a typical Indian room with one door and one window, and it is what painters quote against. A room with large glazing needs a bigger deduction, taken off by hand.
Can I draw more than one room?+
Not in this tool — it draws one rectangle at a time. Run it once per room and screenshot each, or send us the flat's dimensions and we will draw the whole plan properly at 1:50.