
Height and level: the two rules
Professional interior photographs are taken from a lower camera position than people expect. At eye height, roughly 1,600 mm, a camera looks slightly down on furniture and makes a room feel small and top-heavy. At 1,200–1,400 mm — chest height, or the height of a kitchen counter — the furniture reads at its proper scale and the floor plane opens up. Almost every published interior photograph is taken from within that band.
The second rule is that the camera must be level. The moment it tilts up or down, vertical lines in the room converge, and a wardrobe that is plumb in reality leans in the photograph. Every phone has a level indicator in the camera settings; turn it on and use it. On a phone this single change produces a bigger improvement than any other adjustment available, and it costs nothing.
| Mistake | What it looks like | The fix | Difficulty |
|---|---|---|---|
| Camera at eye height | Room looks small, furniture squat | Drop to 1,200–1,400 mm | Free |
| Camera tilted | Walls lean inward or outward | Use the level indicator; stay square | Free |
| Shooting into the window | Blown-out window, dark room | Shoot away from the window or at dusk | Free |
| Mixed light temperatures | Orange and blue in one frame | One temperature; turn the rest off | Free |
| Ultra-wide lens at 0.5x | Distorted edges, unreal proportions | Use the 1x lens; step back instead | Free |
| Too much in the frame | No subject; the eye wanders | One subject per photograph | Free |
| Clutter | Remotes, chargers, bottles | Remove 30% of objects | Ten minutes |
Light: the hour and the mix
Interiors photograph best in bright indirect daylight, which in a Mumbai flat means a north-facing room at almost any hour, an east-facing room after about 11 am, and a west-facing room before about 2 pm. Direct sun through a window creates a contrast range no camera can hold: either the window is a white rectangle or the room is black. If the sun is in the window, wait, or shoot from an angle where the window is behind the camera.
The second light problem is mixing colour temperatures. A room lit by 2700 K lamps and daylight at 5500 K in the same frame cannot be white-balanced correctly; one of the two will look wrong whatever you do afterwards. The practical answer for a home photograph is to turn every artificial light off during the day and shoot on daylight alone, or wait until dusk and shoot entirely on the lamps with the daylight almost gone. That second option, at the twenty minutes of blue hour, produces the warmest and most flattering interior photographs available to anyone.
Design and build under one accountable roof
The ten-minute styling pass
- Remove thirty per cent of the objects. Not the things you like — the remotes, chargers, bottles, cables, laundry, the third cushion. A room reads as calm when it is emptier than it is in life.
- Straighten everything. Square the cushions, align the books, straighten the rug to the wall, close the wardrobe doors fully.
- Hide the cables. The single most visible failure in amateur interior photographs is a black cable running down a pale wall.
- Add one living thing. A plant, flowers, a bowl of fruit. A perfectly tidy room with nothing alive in it photographs as a showroom.
- Layer three heights on any surface. Something tall, something medium, something low, in a group of three. This is the single styling trick that reads as professional.
- Check the floor. Shoes, bags, pet bowls and the edge of a rug that has curled. The floor occupies a third of most interior frames and gets no attention.
- Look at the frame edges before you press the shutter. Most bad photographs are ruined at the edges, not the centre.
Composition that works in a small flat
Two compositions do most of the work in a small Indian flat. The first is the one-point view: stand in a doorway or a corner, face a wall square on, and keep the camera perfectly level and centred. Everything is symmetrical, the vanishing point is in the middle, and the room looks ordered. The second is the two-wall view: stand in a corner and frame two walls meeting, which shows depth and how the space turns.
Resist the ultra-wide lens. The 0.5x setting on a phone will fit a whole room into one frame and will also bend the edges, stretch the furniture at the sides and make a 3.4-metre room look like a hall, which fools nobody and looks distinctly like an estate agent's photograph. Use the standard 1x lens, accept that you cannot show the whole room, and take two photographs instead. A partial view that looks real is worth more than a complete view that looks warped.
Tidy for ten minutes, drop the camera to chest height and keep it level. That is ninety per cent of the difference.
Greenbox principal designer
Editing, and how far to take it
Four adjustments cover almost every interior photograph, and they are available in any phone's built-in editor. Straighten first, because a one-degree rotation fixes more than any other single change. Then lift the shadows, which recovers the dark corners a camera underexposes in a bright room. Then pull the highlights down to bring back some detail in the window. Finally, correct the white balance so white surfaces read as white rather than as cream or blue.
Where to stop is a judgement about honesty. Straightening, exposure and white balance are corrections — they bring the photograph closer to what you saw. Removing objects, replacing skies, and stretching a room's proportions are changes, and anyone who visits the flat will notice. For a home you are selling or renting, that distinction has practical consequences: a photograph that oversells produces disappointed viewings, which is worse than no viewing. Correct the image; do not invent it.
- Straighten before anything else. One degree of rotation makes more difference than any filter.
- Lift shadows, lower highlights, then stop. Over-processed interiors look flat and grey.
- Fix the white balance against a genuinely white object in the frame — a wall, a sheet of paper, a cushion.
- Avoid heavy filters and high saturation. Interiors photograph best slightly understated.
- Export at full resolution if the photograph is going anywhere other than a chat message.
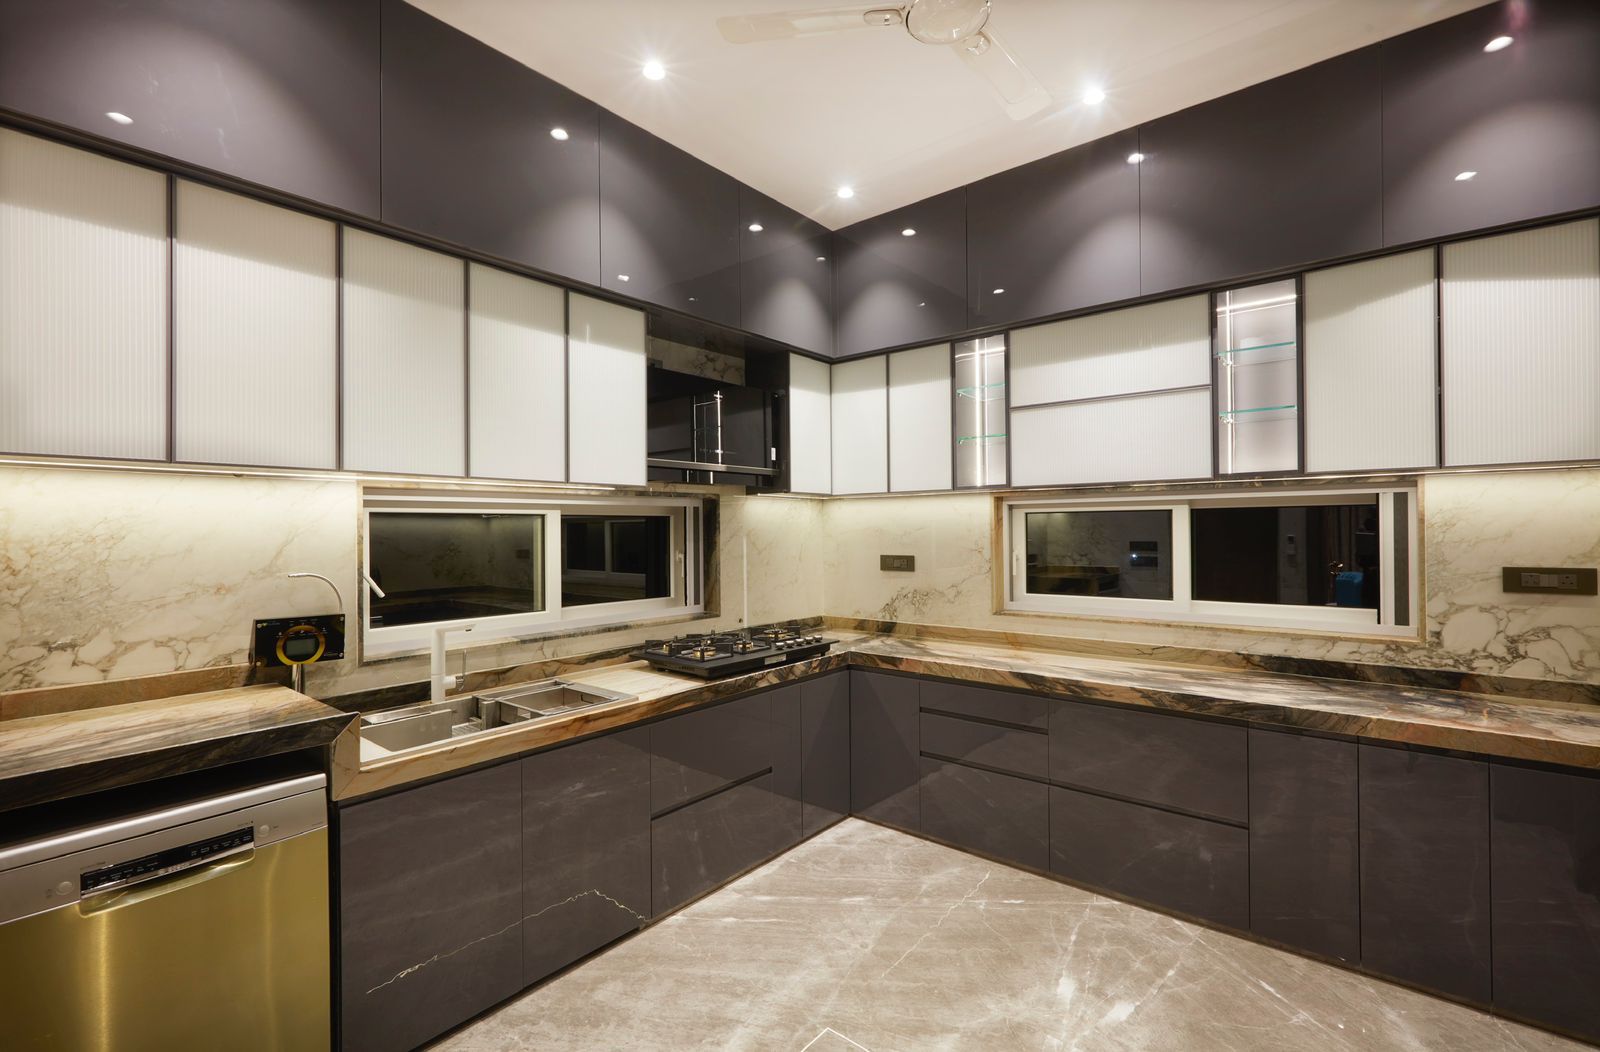
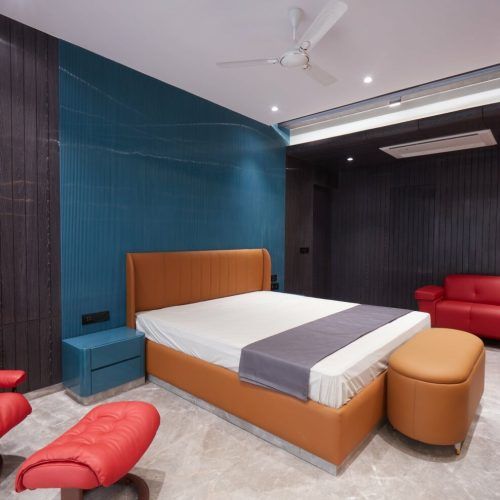
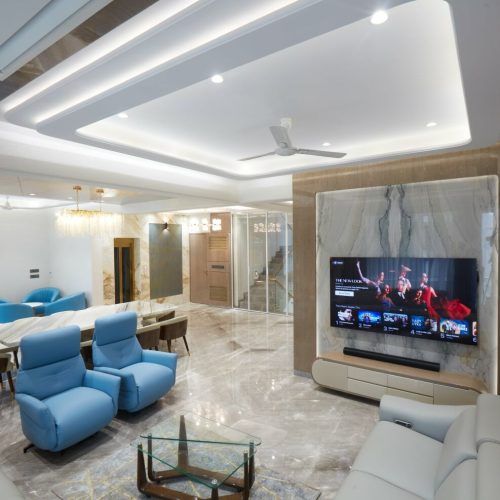
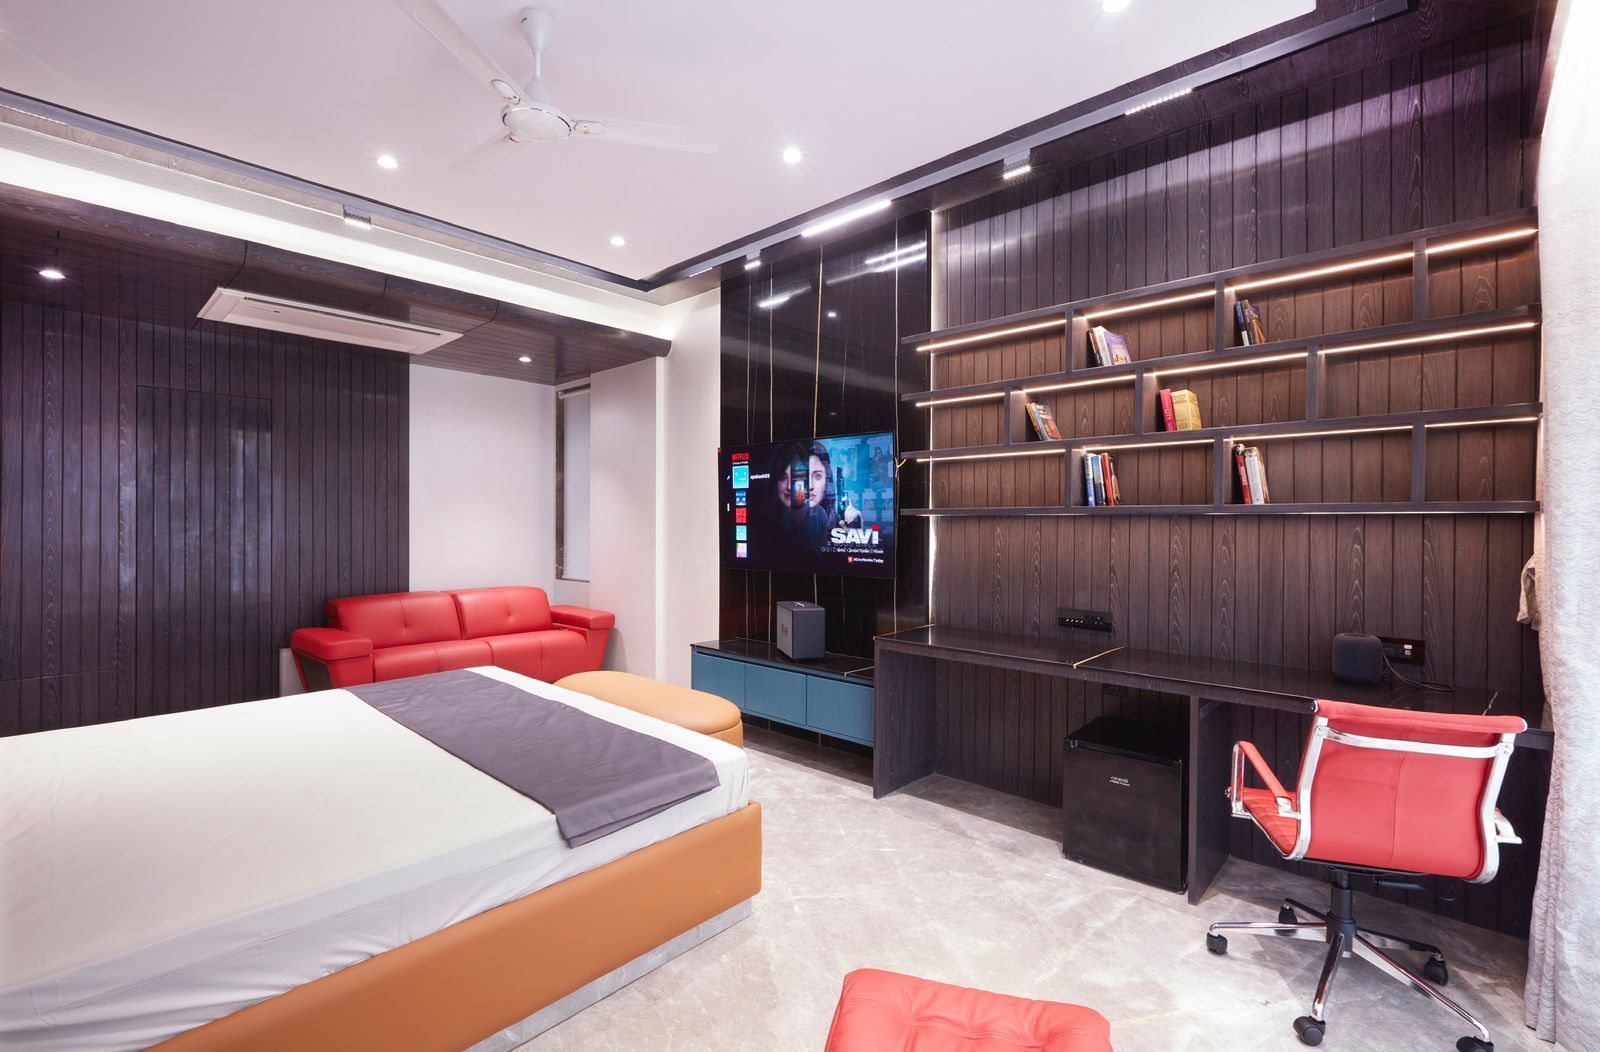
Selected work by Greenbox Design Studio. Tap any image to enlarge.
Frequently asked questions
What camera height is best for interiors?+
1,200–1,400 mm — roughly chest height or the height of a kitchen counter. At standing eye level the camera looks down on furniture and compresses the room. Nearly every published interior photograph is taken from within that lower band, and on a phone it is the easiest single improvement to make.
Should I use the wide-angle lens on my phone?+
No. The 0.5x ultra-wide fits more in but bends the edges, stretches furniture at the sides and produces proportions the room does not have. Use the standard 1x lens and take two photographs of a room rather than one distorted one. A real partial view beats a warped complete one.
When is the best time to photograph a room?+
When the room has bright but indirect daylight — north-facing rooms at any hour, east-facing after 11 am, west-facing before 2 pm in Mumbai. The other excellent window is the twenty minutes of dusk, shot entirely on lamplight with the daylight almost gone, which gives the warmest results.
How do I stop my photos looking crooked?+
Turn on the level indicator in your camera settings and keep the camera exactly horizontal, neither tilted up nor down. Any tilt makes vertical lines converge, so walls appear to lean. If you need more of the ceiling or floor in frame, move your position rather than angling the camera.
Do I need to declutter before photographing?+
Yes, and it matters more than the camera. Remove about thirty per cent of the visible objects, hide every cable, straighten and square everything that remains, and add one plant or bowl of flowers. Ten minutes of this changes a photograph more than any equipment upgrade available to you.
Should the lights be on or off?+
Pick one source. During the day, turn all the lamps off and shoot on daylight alone; at dusk, turn the lamps on and shoot once the daylight has nearly gone. Mixing 2700 K lamplight with 5500 K daylight in one frame cannot be white-balanced properly afterwards.